


Thanks for visiting my blog today.
Magenta Products Used
 |
| 07.975.I - Happy Birthday |
 |
| 48.018.N _ Daisy - Large |
 |
| 48.018.K - Daisy - Small |
Other Products Used
Pan Pastels
Distress Ink (Mustard Seed, Ripe Persimmon)
VersaMark Ink
Thanks for visiting my blog today.
Magenta Products Used
|
| 07.975.I - Happy Birthday |
|
| 48.018.N _ Daisy - Large |
|
| 48.018.K - Daisy - Small |
Pan Pastels
Distress Ink (Mustard Seed, Ripe Persimmon)
VersaMark Ink
Welcome back to my blog and Magenta Super Saturday. I have a quick card for you today. This started as a Valentine but I changed my mind about the sentiment and will be sending this card to my aunt who is recuperating from surgery. You can also see my card on the Magenta blog here.

I stamped the Flourishing Heart and Butterfly stamp on a
piece of lightweight vellum paper (4 ¼” x 5 ½”) with VersaMark ink. I used 24# vellum and it also has some little
sprinkles of glitter on it which just adds to the background interest for the
card.


Thanks for visiting my blog today.
Magenta Products Used:
 |
| 07.971.F - Sending Hugs |
 |
| 40.345.N - Flourishing Heart and Butterfly |
VersaMark Ink
Brutus Monroe Gilded Embossing Powder
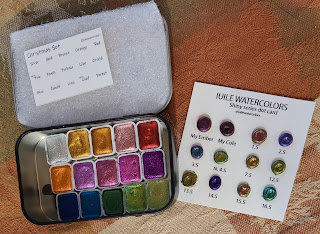
Welcome back to my blog and Magenta Super Saturday. Today I used my sparkly Iuile watercolor paints to create a fall themed birthday card. You can see my card on the Magenta blog here. I love the sparkle from the Iuile’s paints. Kristina Werner uses them frequently on her blog posts. My card was inspired by one of her videos which you can see here.
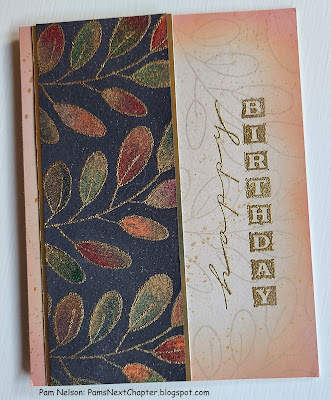
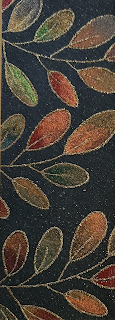
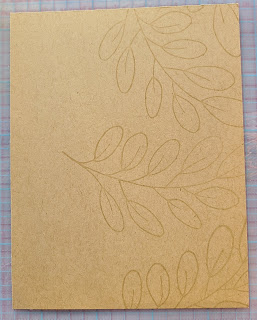
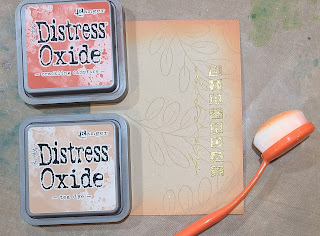
I stamped the large Acacia branch repeatedly on a piece of Stonehenge black watercolor paper that was cut to 2” wide by 5 ½”. I have found that this paper cuts best with a guillotine cutter. Before stamping I generously used my powder tool over the surface of the paper, stamped with VersaMark ink, then embossed with gold embossing powder.
Thanks for visiting my blog today.
Magenta Products Used:
 |
| 07.430.I - Happy Birthday |
 |
| 0817.M - Acacia Branch Large |
Iuile Watercolors (available from Etsy.com)
Stonehenge Aqua Coldpress Black Watercolor paper
Distress Oxide Ink (Tea Dye, Crackling Campfire)
VersaMark Ink
Brutus Monroe Gilded Gold Embossing Powder
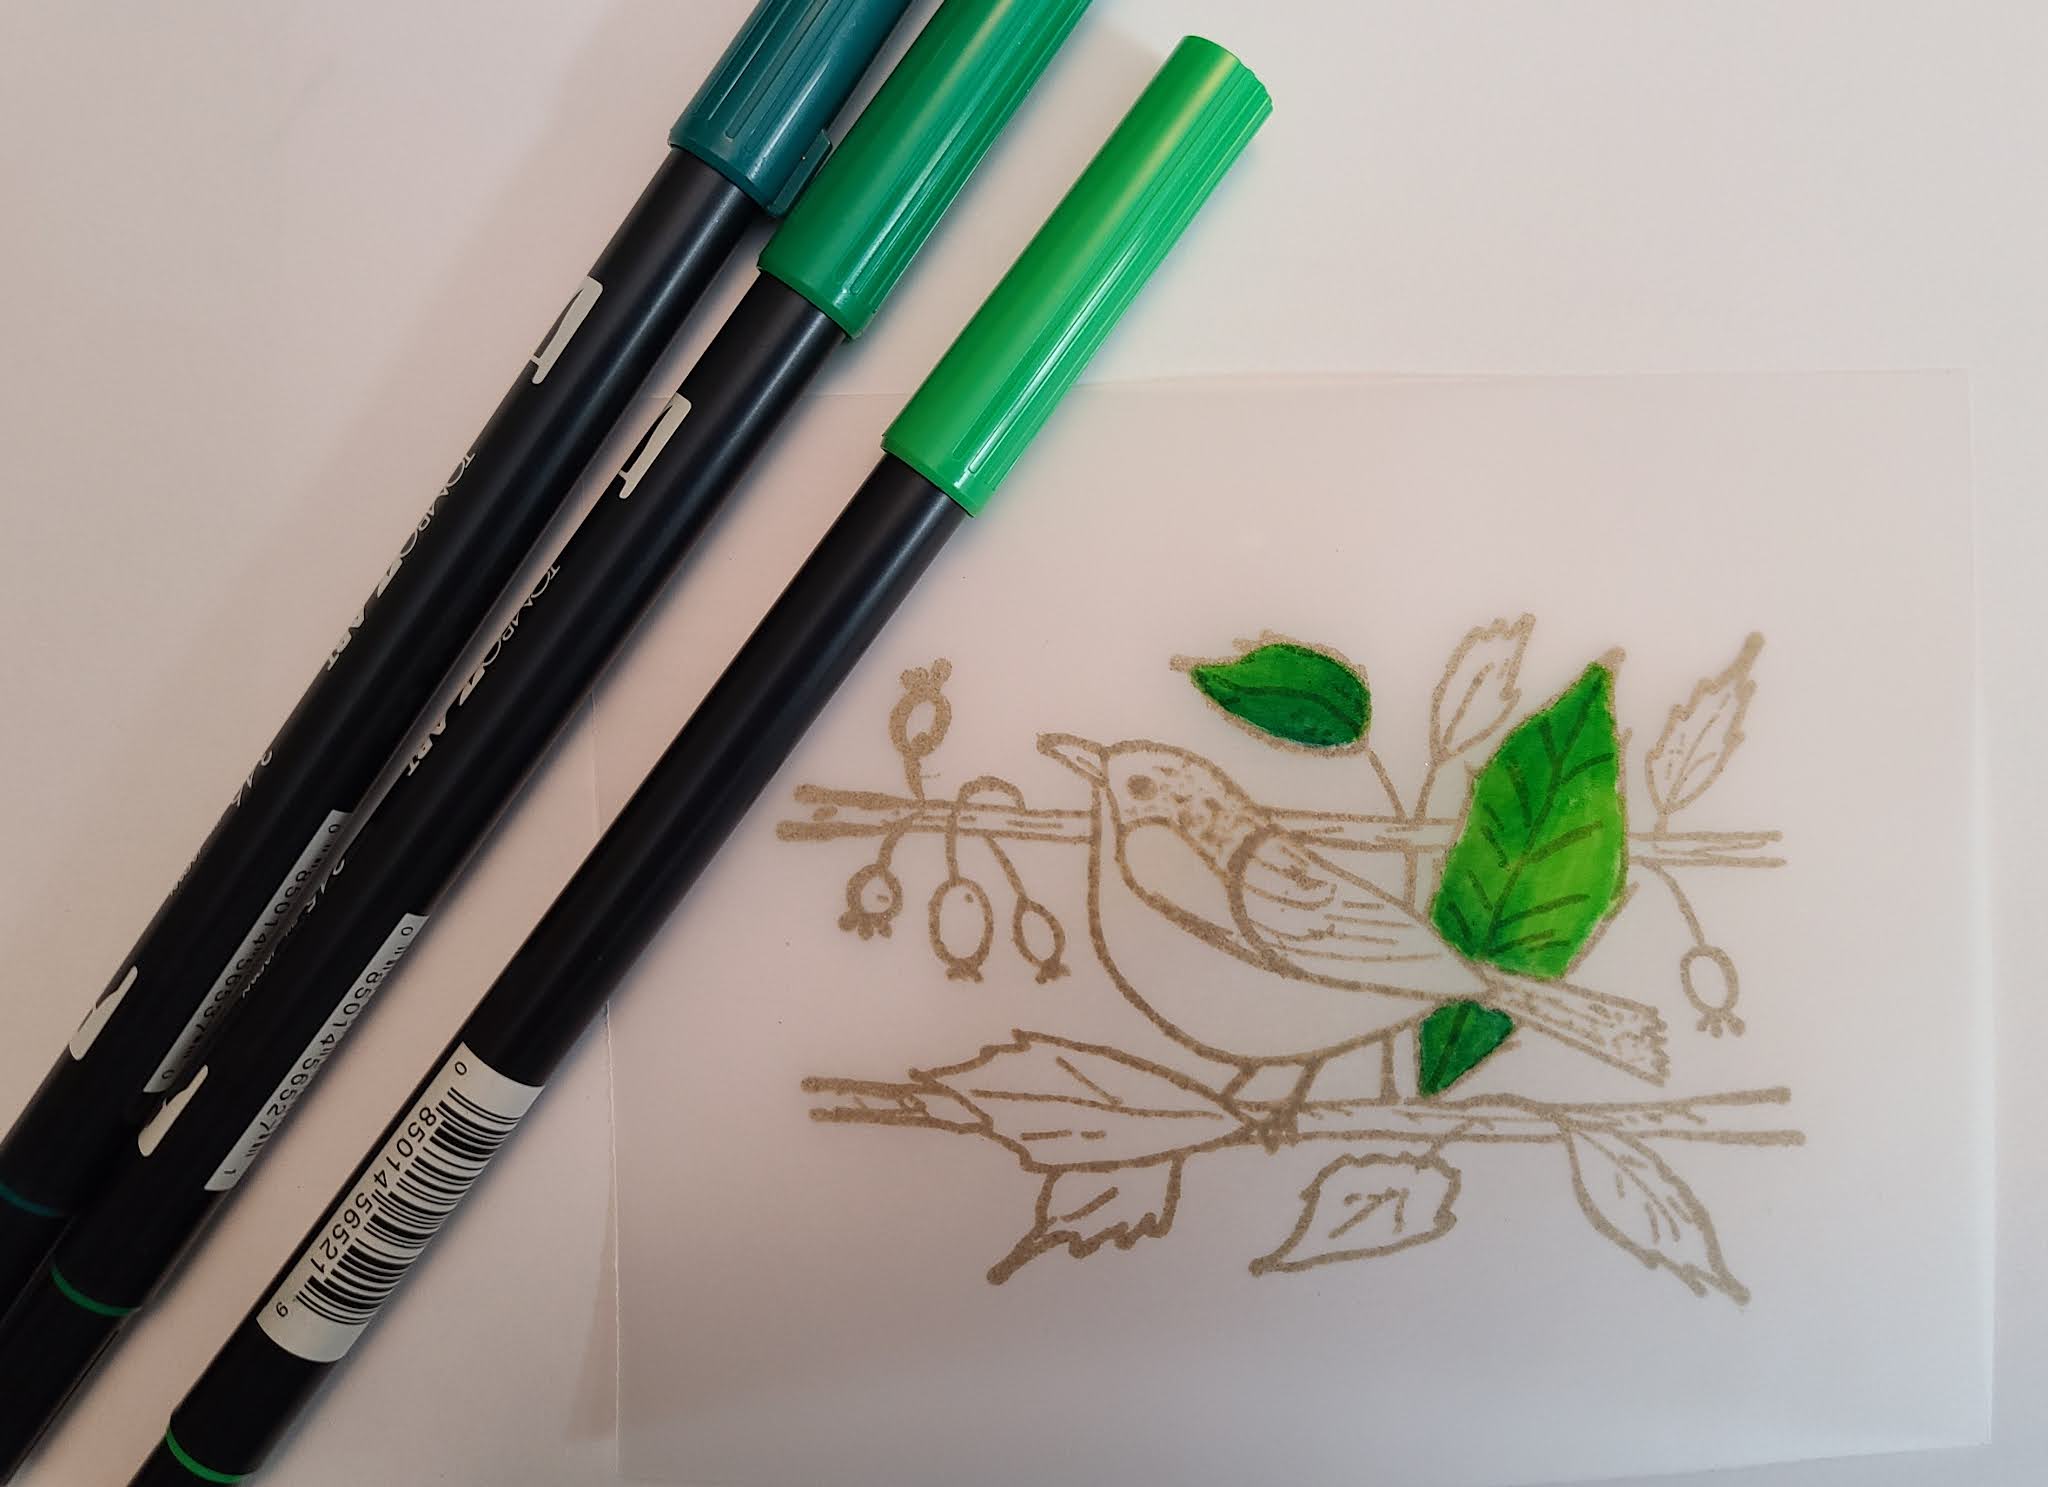
Welcome back to Super Saturday. Today I am using the beautiful bird stamp from Magenta’s most recent release of new stamps. You can also see my card on the Magenta blog here.



 |
| 0827 The new stamps aren't available in the store yet so to order them, please e-mail Magenta and provide the stamp number. Other Products Used: Brutus Monroe Gilded Gold embossing powder TomBow Markers ((Leaves: 245, 346, 195); (Bird: 25, 885, 905, 847): (Berries: 847, 565); (Fence 899, 977)) Distress Oxide Ink (Tumbled Glass, Mermaid Lagoon) VersaMark Hero Arts Infinity Dies - Nested Oval |
Welcome back to my blog and Magenta Super Saturday. Today I have a card that is very quick and easy which you can also see on the Magenta blog here.

I pulled a piece of background paper from my stash. This particular piece was made using shaving cream and Nuance. You can see my post on how to make the paper here.


On the back of the vellum, I applied small drops of glue
under the gold and under parts of the stamped image. By putting the glue under the gold embossing
powder, it won’t show through to the front of the vellum. I adhered the vellum to the front of the card
and then put a book on top of the card to weigh down the vellum until the glue
dried. For the final step I added a few
gold gems.
Thanks for visiting my blog today.
Magenta Products Used:
 |
| 07.817.H - May the Love |
 |
| 0762.P - Dandelion Trio |
 |
| MNUC - Nuance |
Welcome back to my blog. I hope your New Year is off to a great start.

I decided to make a set of tri-fold cards today using a set of Magenta puzzle stamps. The Garden Flower Tile set has four different square stamps that work together beautifully but can also be used individually. These cards will work well for any occasion but I plan to send them to friends just to say “hello.” You can also my cards on the Magenta page here.

I positioned each of the stamps in my stamping tool and stamped them on a piece of desert storm cardstock with VersaFine Olympia Green ink. I lined them up so there would be enough space to cut them out after I finished coloring them.


For the card bases I cut
four pieces of desert storm cardstock to 4 1/2" x 11", then scored
each piece at 1 3/4" and 7 1/8" and folded on the score lines to make
tri-fold cards.

I stamped the Swirly Leaves stamp repeatedly on the card front with VersaMark ink and then embossed with Iridescent Sparkle embossing powder.

To complete the cards I adhered the square stamped image to the front of the cards as shown in the picture above. I added two accent strips of the same cardstock I used to mat the stamped image.
Thanks for visiting my blog today. I wish you the very best in the coming year.
Magenta Products Used
 |
| CSET35 - Garden Flower Trio |
 |
| 85.020.N - Swirly Leaves |
VersaFine Olympia Green Ink
VersaMark Ink
Judikins Clear Embossing Powder
Prismacolor Pencils
(Leaves: PC911, PC913, PC989, PC907, PC909, PC912)
(Flowers: PC918, PC921, PC917, PC1002, PC926)
(Background: PC992, PC1024)


 |
| 02.316.P - Poinsettia Corner |
 |
| 07.928.I - With Sympathy |
